Call Us
+86 136 6007 9809
Call Us
+86 136 6007 9809
Nov. 30, 2024
Industry Solutions for Decarburization and Carburization of Fasteners (Bolts and Nuts)
Steel is an iron-carbon alloy with a carbon content ranging from 0.0218% to 2.11%. Carbon is present in all steel; without carbon, there is no steel. The role of carbon in steel is dual: as the carbon content increases, the material's yield point and tensile strength gradually improve, as do hardness and wear resistance; however, plasticity and impact resistance decrease. Therefore, the carbon content needs to be tailored based on the specific application of the material.
During the fastener production process, heat treatment may result in decarburization or carburization, both of which can alter the fasteners' performance if the carbon content is either too high or too low.
1. Decarburization of Fasteners
Decarburization refers to carbon loss from the surface of ferrous materials (steel). It can be classified into full Decarburization and partial Decarburization.
Full Decarburization occurs when all the carbon is lost, and only a ferrite structure is visible under metallographic inspection.
Partial Decarburization occurs when carbon loss causes slight discoloration of the metallographic structure after tempering, and the hardness is significantly lower than that of the adjacent core material.
A fastener is considered decarburized if its surface hardness is 30 HV (Vickers Hardness) lower than its core hardness. Whether or not Decarburization has occurred on the surface can be used to control the quality of the heat treatment process. However, this does not directly reflect the fastener's strength performance. After heat treatment, fasteners with a grade of 8.8 or higher need to have this parameter checked.
Decarburization may occur during the rolling process of fastening raw materials. Improper annealing can further deepen the decarburized layer. Some oxidative gases can be introduced from outside the furnace in quenching and tempering. Rust on bar steel or residual materials on cold-drawn wire can decompose upon heating and generate oxidative gases. For example, the rust on steel wire, consisting of iron carbonate and hydroxides, decomposes into CO2 and H2O upon heating, leading to more Decarburization. Studies show that medium-carbon alloy steels experience more severe Decarburization than carbon steels, and the fastest Decarburization occurs between 700-800°C. If the furnace gas in a continuous mesh-belt furnace is not controlled correctly, it can cause excessive Decarburization of screws.
When high-strength fasteners are cold-forged, the decarburized layer of raw materials and annealed materials is retained and pressed to the top of the threads. This prevents the fastener's surface from achieving the required hardness after quenching, reducing its strength and wear resistance. Due to different expansion coefficients between the surface and the internal structure, surface decarburization can also cause surface cracks during quenching. The decarburized layer contains fewer carbides (Fe3C), leading to lower mechanical properties such as strength or hardness than typical structures. Surface decarburization may result in a reduction in thread strength or stripping, leading to failure. The fatigue strength of bolts with surface decarburization is typically 19.8% lower than those without.
Conducting decarburization tests is essential to prevent Decarburization during heat treatment. Care must be taken during quenching to protect the thread tops from Decarburization. Additionally, fasteners that have already undergone Decarburization should be subjected to appropriate carburization to restore their carbon content.
The carbon potential in the protective atmosphere of a mesh-belt furnace should be adjusted to match the original carbon content of the decarburized fastener. Carburization should be performed at temperatures similar to those used for quenching, avoiding high temperatures to prevent grain coarsening, which could affect mechanical properties.
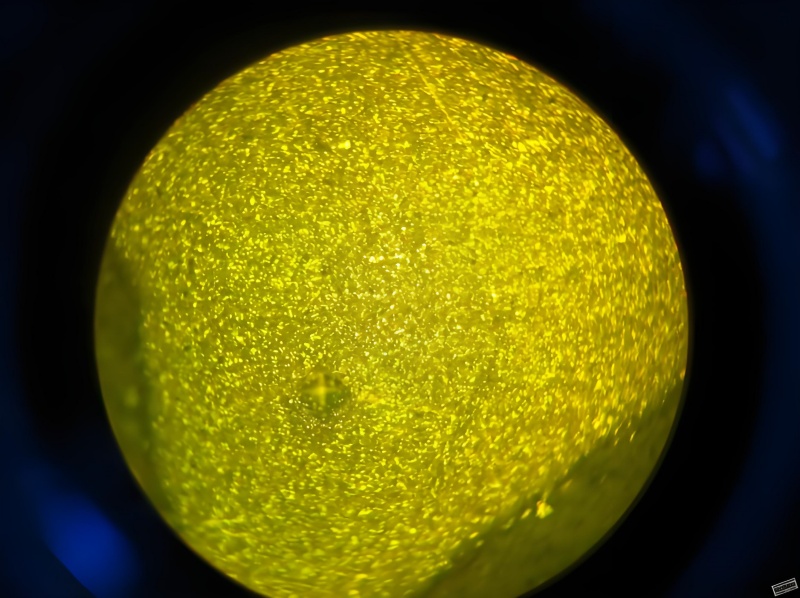
Methods to determine the surface carbon content include:
(1)Metallographic Method: Suitable for all grades of fasteners, such as 8.8, 10.9, and 12.9. The metallographic method can determine the depth of the complete decarburized layer (G) and the height of the partially decarburized layer. The preparation, testing procedures, and technical requirements can be referenced in ISO 4014 and ISO 4017 standards for the mechanical properties of bolts, screws, and studs. The maximum depth of the complete decarburized layer (G) and the height of the partially decarburized layer should meet the standards' specifications.
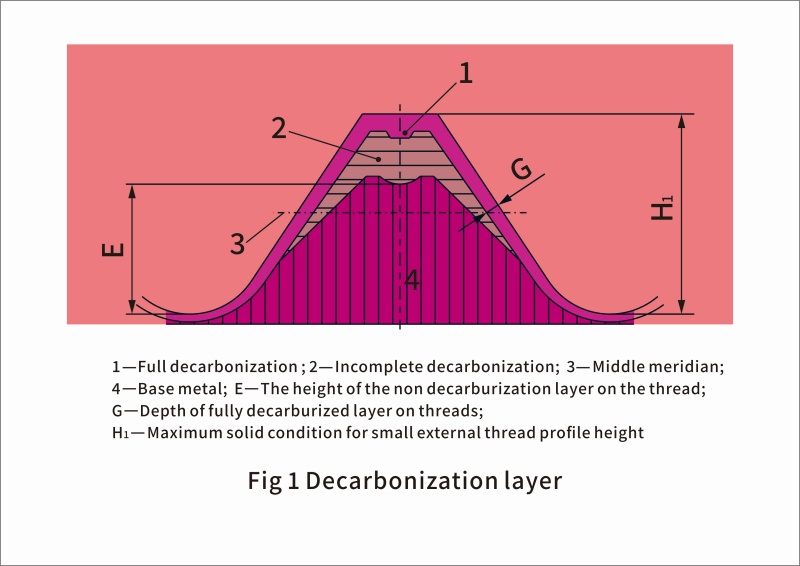
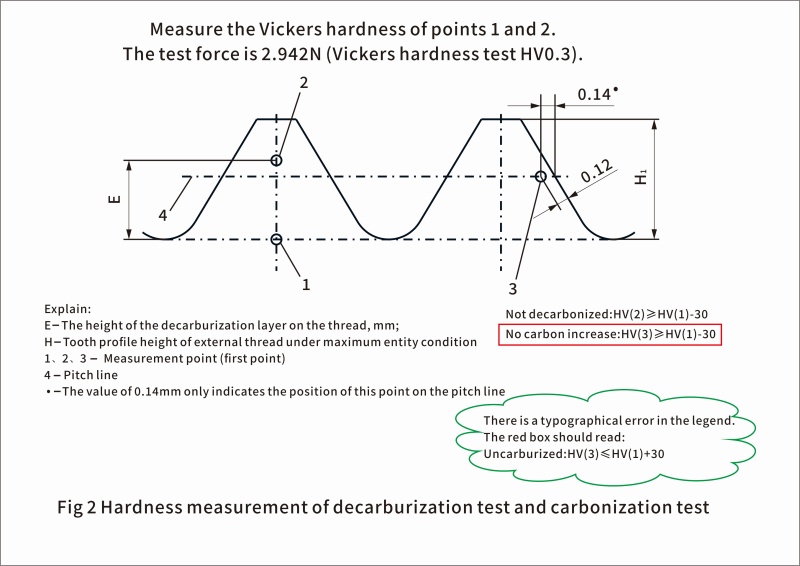
(2)Hardness Method: This is suitable for fasteners with a pitch (P) ≥ 1.25 mm, grades 8.8 to 12.9.
Measure the Vickers hardness at the first and second points using a 2.942N test force (Vickers hardness test HV).
The Vickers hardness value at the second point (HV2) should be greater than or equal to the Vickers hardness value at the first point (HV1) minus 30 Vickers units. If HV2 ≥ HV1 - 30, decarburization has not occurred. If HV2 ≤ HV1 - 30, decarburization is confirmed.
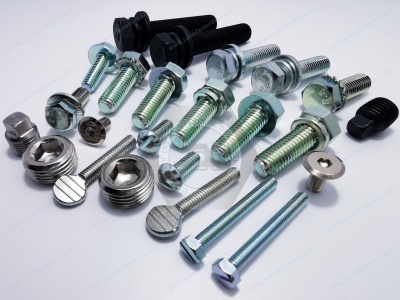
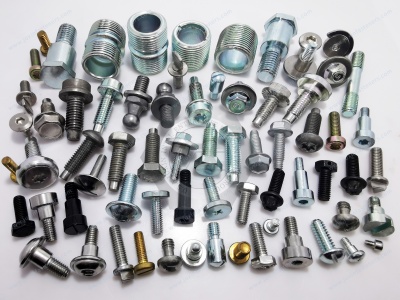
The height of the partially decarburized layer should meet the standard requirements. The maximum allowable full decarburized layer depth must also conform to the standards, and the hardness method cannot be used when the decarburized layer exceeds the maximum depth.
2. Carburization of Fasteners
Carburization refers to the increase in carbon content on the surface of the fastener's base metal. According to ISO 4014 and ISO 4017, the mechanical and physical properties of bolts, screws, and studs, including surface hardness (HV0.3), are defined for grades 8.8 and above. The maximum surface hardness should not exceed 30 Vickers hardness units, which is more significant than the core hardness. Additionally, the surface hardness for grade 10.9 should not exceed 390 HV, and for grade 12.9, it should not exceed 435 HV. The maximum surface hardness controls whether carburization has occurred, so performing a maximum surface hardness test is essential.
Carburization is primarily caused by improper control of the carbon potential in the protective atmosphere during heat treatment or by excessive carburization of decarburized surfaces. Excessive carbon content increases surface hardness, leading to brittleness and reducing the fastener's fatigue strength. Therefore, carburization is harmful, and it is necessary to distinguish whether the increase in hardness is due to carburization or heat treatment/surface cold working hardening, such as post-treatment thread rolling.
Methods to test for carburization include:
(1)Measuring Hardness on the Longitudinal Section: This test is only suitable for fasteners with a pitch (P) ≥ 1.25 mm and grades 8.8 to 12.9.
Prepare the specimen as described in the decarburization test but without corrosion or removal of surface coatings.
Measure the Vickers hardness at the first and third points using a 2.942N test force (Vickers hardness test HV3). If using a specimen already tested for decarburization, the third point should be on the thread pitch line.
Carburization has not occurred if the Vickers hardness value at the third point (HV3) is less than or equal to the Vickers hardness value at the first point (HV1) plus 30 Vickers units. If HV3 ≥ HV1 + 30, carburization is confirmed.
(2)Measuring Surface Hardness: Suitable for all grades of fasteners, such as 8.8 to 12.9.
Prepare a smooth plane at the head or end of the fastener to maintain the original surface characteristics. Take a transverse section 1d from the end of the thread and prepare it properly.
Measure the surface hardness using a test force of 2.942N (Vickers hardness test HV0.3) and measure the core metal hardness on the transverse section.
The surface hardness should be less than or equal to the core metal hardness plus 30 Vickers units. If it exceeds this, carburization is confirmed.
The surface hardness of grade 10.9 fasteners should not exceed 390 HV; for grade 12.9, it should not exceed 435 HV.
3. Measuring Core Metal Hardness on the Thread Cross-Section
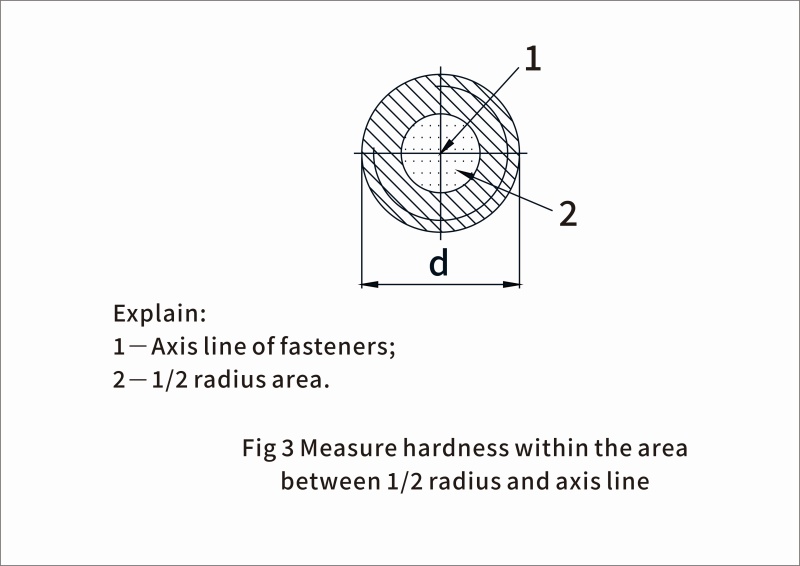
Core metal hardness is the hardness closest to the surface before carburization or decarburization causes any significant change in hardness. The transverse section should be cut 1d from the thread end and prepared accordingly. Hardness should be measured in the region between 1/2 radius and the centerline of the axis.
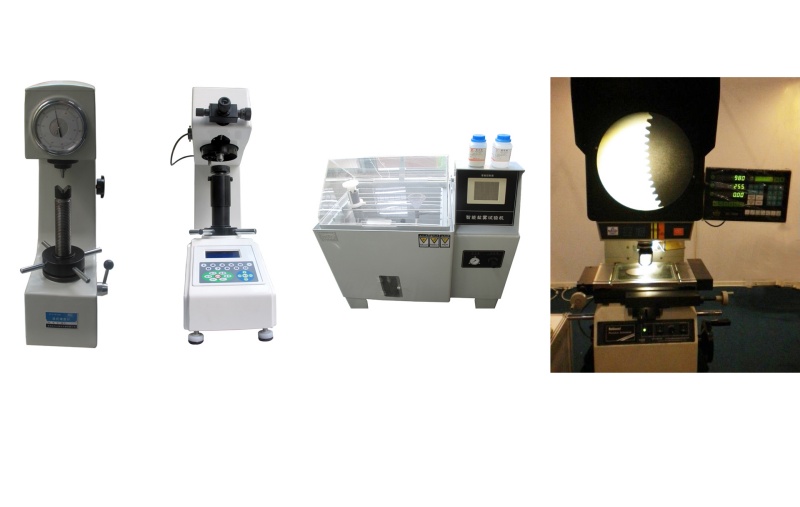
4. Different Hardness Tests
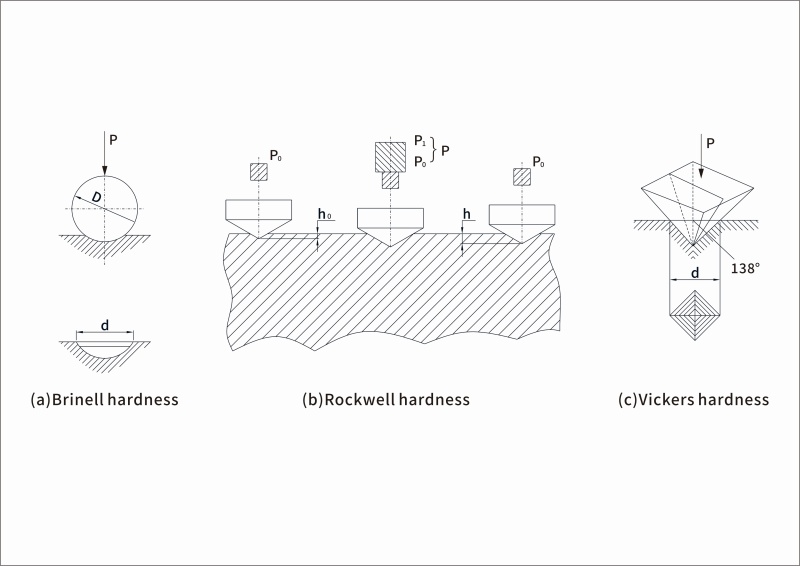
The primary hardness tests are as follows:
Brinell Hardness Test (ISO 6506-1:2014)
Rockwell Hardness Test (ISO 6508-1:2016)
Vickers Hardness Test (ISO 6507-1:2005)
Email:adelajonly@gmail.com
https://www.juxinfasteners.com/metal-flange-lock-nuts-all-metal-prevailing/
WhatsApp:+86 13660079809
Contact Us
Tel.:
+86 020 8621 0320
+86 020 3121 6067
Technical Support:
Navigation
SEND INQUIREY