Call Us
+86 136 6007 9809
Call Us
+86 136 6007 9809
May. 20, 2023
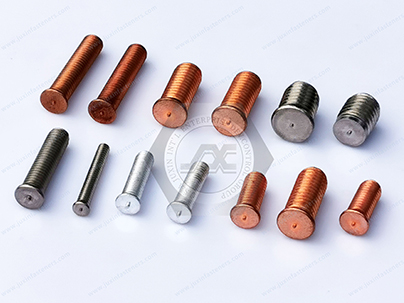
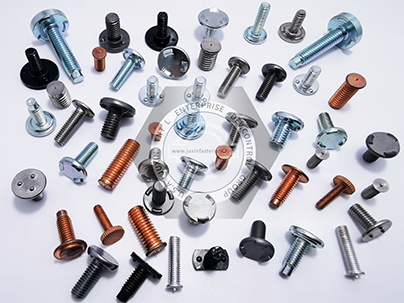
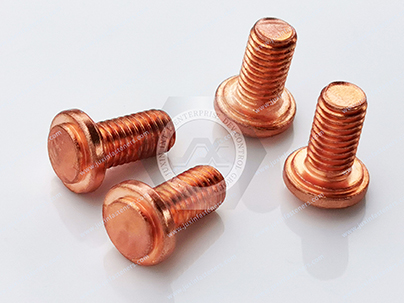
1. First, remove the oil stain on the surface of the broken welding screw, and then use an electric drill to install a drill bit with a diameter of 6-8 mm to drill a hole in the center of the section. Note that the hole must be drilled through. After the hole is drilled through, remove the tiny drill bit and replace it with a drill bit with a diameter of 16 mm, and continue to expand and drill through the hole of the broken bolt.
 |  |  |
2. Take a welding rod with a diameter of less than 3.2 mm and use small and medium currents to carry out surfacing welding from the inside to the outside in the drill hole of the broken bolt. At the beginning of surfacing welding, take half of the entire length of the broken bolt. Do not overshoot the arc when starting surfacing welding. Long so as not to burn through the outer wall of the broken bolt. After emerging welding to the upper end of the broken bolt, continue surfacing welding to produce a cylinder with a diameter of 14-16 mm and a height of 8-10 mm.
3. After surfacing, hammer the end face with a hand hammer to cause the broken bolt to vibrate along its axial direction. Due to the heat generated by the previous arc and the subsequent cooling, plus the vibration at this time, the bolt and the thread of the body will be broken looseness between them.
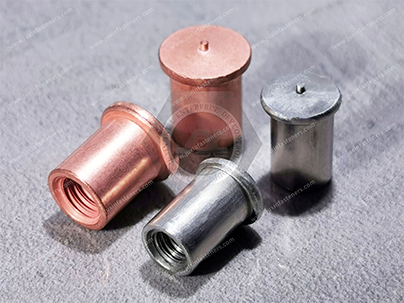
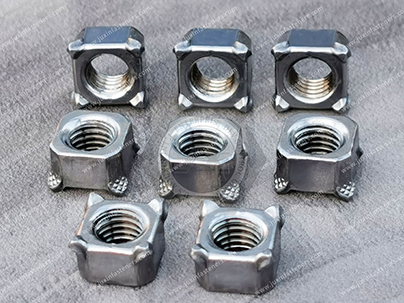
4. Observe, and when you find a small amount of rust leaking from the fracture after knocking, you can take the M18 nut, put it on the surfacing stud, and weld the two together.
5. After welding, when slightly cool, use a ring wrench to twist back and forth on the nut. You can also use a small hand hammer to tap the end face of the nut while turning back and forth so that the broken bolt can be removed.
 |  |
6. After removing the broken bolt, use a suitable tap to process the threaded button in the frame to remove the rust and other sundries in the hole.
Inspection method of welding screws
There are two types of welding screw surface inspection, one is the Inspection before the welding screw is electroplated after the welding screw is produced, and the other is the Inspection after the welding screw is electroplated, that is to say, after the welding screw is hardened, the surface of the welding screw is well-treated post-test. After the welding screws are produced and before they are electroplated, we inspect the dimensions, tolerances, and other aspects of the welding screws. See if it meets national standards or customer requirements. After the surface treatment of the welding screws, the welding screws we have plated are inspected, mainly to check the color of the plating and whether there are any terrible welding screws. In this way, when we deliver welding screws to customers, the customers can pass the customs smoothly when they receive the goods. Inspection after welding screw treatment:
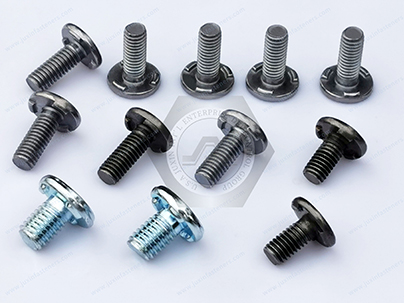
一、Appearance quality requirements
The Inspection of the appearance of welding screws is carried out from various aspects such as appearance and electroplating.
二、 Inspection of welding screw coating thickness
1. Measuring tool method
The amount used has micrometers, vernier calipers, plug gauges, etc.
2. Magnetic method
The magnetic method to measure the thickness of the coating layer is a non-destructive measurement of the non-magnetic coating layer on the magnetic substrate with a magnetic thickness gauge.
3. Microscopy
The microscope method is called the metallographic method, which enlarges the etched fastener on a metallographic microscope with a micrometer eyepiece and measures the thickness of the coating on the section.
4. Time flow method
The timing liquid flow method uses a solution that can dissolve the coating to flow on the partial surface of the coating. The thickness of the coating is calculated according to the time required for the local coating to dissolve. There are also the plating drop method, anodic dissolution coulometric method, etc.
三、Inspection of Adhesion Strength of Welding Screw Coating
There are many ways to evaluate the adhesion between the coating and the base metal, usually as follows.
1. Friction polishing test; 2. File method test; 3. Scratch method; 4. Bending test; 5. Thermal shock test; 6. Extrusion method.
四、 Inspection of corrosion resistance of welding screw coating
The test methods for coating corrosion resistance include atmospheric exposure test; neutral salt spray test (NSS test); acetic acid salt spray test (ASS test), copper accelerated acetic acid salt spray test (CASS test); and corrosion paste corrosion test (CORR test) and solution spot corrosion test; immersion test, interleaved corrosion test, etc.
Contact Us
Tel.:
+86 020 8621 0320
+86 020 3121 6067
Technical Support:
Navigation
SEND INQUIREY