Call Us
+86 136 6007 9809
Call Us
+86 136 6007 9809
Jun. 20, 2023
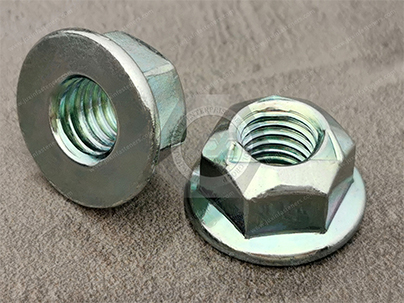
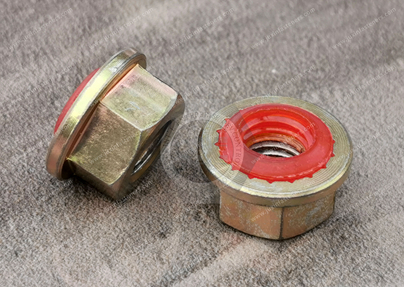
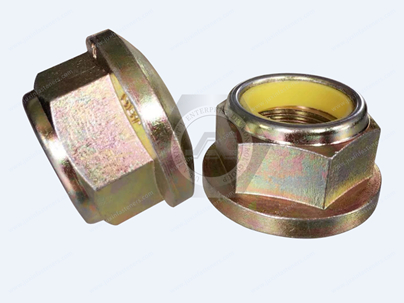
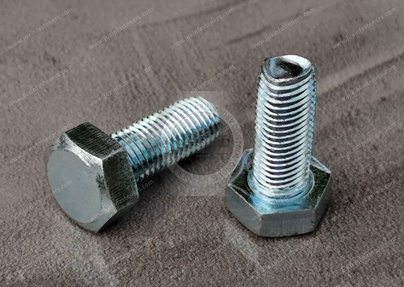
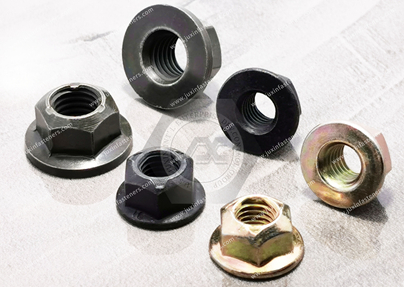
The stress on the chassis is complex, and many factors cause the torque attenuation of the fasteners. Usually, relaxation measures are taken in the design of the connection pair, such as thread pre-coating, all-metal self-locking nuts, thread structures with self-locking functions, and loosening functions. Patented thread teeth, or the self-locking function of the connecting pair design.
The most used in the chassis are thread pre-coating and all-metal self-locking wild. Thread pre-coating can refer to DIN267; lock nut can refer to Q330.
 |  |  |
Common materials for chassis fasteners
The torque-angle method generally installs the chassis connection pair, and some connection points are established by the yield point tightening method. This puts very high requirements on the performance index of bolts and requires good handling of the relationship between friction coefficient, hardness, elongation, and yield strength. The following table shows the commonly used materials for chassis fasteners in OEMs.
| The strength grade of chassis bolts/nuts adopts grade 8.8 or grade 10.9, and grade 10.9 is used more | Material Item No | Remark |
| 8.8 level | 20MnTiB, SCM435, SCM440, 35CrMo or materials with equivalent chemical composition | 10B21 can be selected when the size is smaller than or equal to M8. |
| 10.9level | SCM435, SCM440, 35CrMo, or equivalent chemical composition materials | It is not recommended to choose ML40Cr when the specification is greater than or equal to M12. |
| Grade 8 and Grade 10 Nuts | 10B21、SWRCH35K、SWRCH45K | Whether heat treatment is determined according to the designed engagement length of the secondary thread of the connection; for example, weld nuts cannot be quenched. |
| Washer Typle | Hardness S200HV, 20 steel cold-rolled plate direct stamping, hardness 200HV~400HV, 45 steel heat treatment | Hardness S200HV, 20 steel cold-rolled plate direct stamping, hardness 200HV~400HV, 45 steel heat treatment |
Thread accuracy grades for chassis fasteners
The thread's fit is a clearance fit, and a fit with low precision will cause the torque of the connecting pair to attenuate and cause the connection to fail.
To ensure that the thread accuracy is qualified after electrophoresis or coating, it is generally adopted to reduce the external thread's pitch diameter and increase the internal thread's diameter. Thread accuracy grades are implemented according to GB/T 196 and GB/T 197 standards.
Under different surface treatment processes, the precision requirements are additional.
| Part Name | coating process | Accuracy grade before surface treatment | Accuracy grade after surface treatment |
| External Thread - Bolt | Galvanized layer | 6g | Six h |
| Zinc-aluminum coating | 6e | 6g stop gauge and six h pass gauge | |
| Electrophoresis | 6f | 6g | |
| Electroplated Zinc Nickel Alloy | 6g | Six h | |
| Locking glue | 6g | Six h, the matching nut must be 6H | |
| Internal Thread - Nut | Galvanized layer | 6G | 6H |
| Zinc-aluminum coating | 6G | 6H | |
| Electrophoresis | 6E | 6H | |
| Electroplated Zinc Nickel Alloy | 6G | 6H |
Selection of Fastener Assembly Method for Chassis
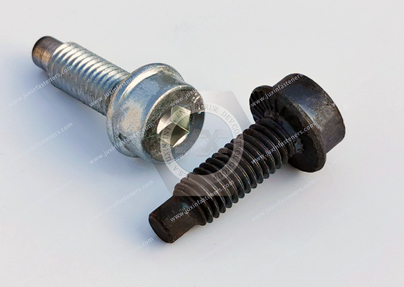
1) At present, the torque method is most commonly used on the assembly line of the main engine factory. The assembly torque method uses the linear relationship between the torque value and the pre-tightening force in the elastic region. It only controls the tightening torque, which is easy to operate.
 |  |  |
2) Advantages and disadvantages of the torque method: a) direct control of the loading torque, simple operation, easy to implement, and cheap tightening equipment; b) used in the elastic region of the bolt; c) the pre-tightening force has a large dispersion, usually up to ±30% ; d) It is greatly affected by the friction coefficient; e) The material utilization rate of the fastener is low; f) 90% of the loading torque is used to overcome the friction.
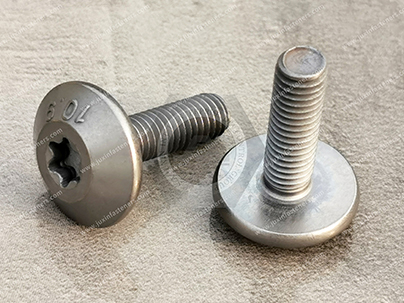
3) Recently, more and more torque-angle methods have been used. The torque-angle method tightens to the specified initial torque and then turns a certain angle to reach the bolt's plastic or elastic deformation zone. The key to designing the torque-rotation angle method lies in defining the initial torque and rotation angle, which should be combined with the value of the laboratory curve.
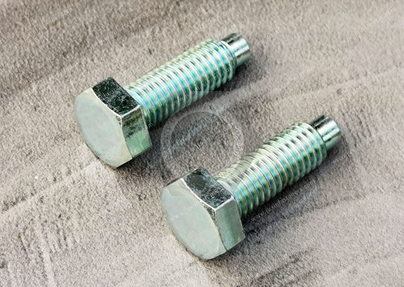 |  |  |
4) The relative torque, the torque-rotation angle method, directly controls the elongation of the bolt through the rotation angle and can obtain a small pre-tightening force dispersion after tightening, usually around ±15%. However, the tightening equipment is expensive, and the cost of use is high. Requirements for the use of the torque-angle method: a) Sufficient thread clamping length (at least six teeth, and more than one times the bolt diameter); b) Sufficient internal thread strength so that the form of bolt tightening failure is fracture rather than Sliding teeth; c) The stability of the friction coefficient of the connecting pair is better; d) The hole tolerance and stiffness consistency of the connected parts are better; e) The control accuracy of the tightening equipment is better; f) The connecting pair breaks after yielding A more extended corner is required; g) Stick-slip phenomenon should not occur during the tightening process.
 |  |
Types and technical points of fasteners commonly used in chassis
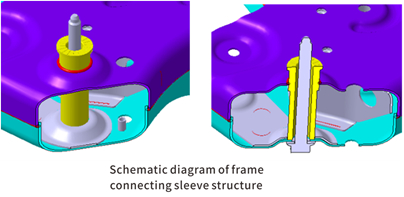
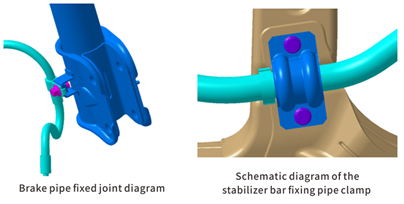
1) When the sub-frame of the stamped sheet connected by sleeves is fastened to the body due to the considerable distance between the upper and lower sheets of the sub-frame, sleeve support is generally added between the two layers of the sub-frame. Attention should be paid to the design: a) Welding sleeves need to pay attention to the cleaning of the weld seam, and there should be no excess welding slag that affects the fit; b) The connection point between the subframe and the sleeve needs to have a sufficiently large supporting surface to ensure that the fasteners Fully fitted to the subframe; c) The bushing should have sufficient strength and rigidity.
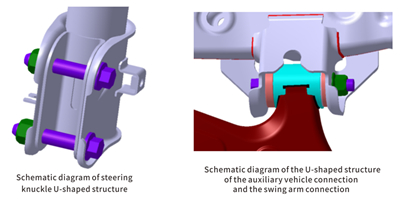
2) U-shaped connection type A typical U-shaped connection includes the connection point between the shock absorber and the steering knuckle and the connection point between the cast subframe and the swing arm. Due to the impact of shaping after stamping, this type of connection can easily lead to inconsistent sizes of U-shaped openings, and the gap that needs to be eliminated is relatively large. Attention should be paid to the design: a) to ensure the consistency of the U-shaped opening size; b) it is best to consider the torque-rotation method when designing fasteners to eliminate the influence of the gap; c) pay attention to the influence of the electrophoretic layer on the friction coefficient, And pay attention to whether there is stick-slip phenomenon; d) When setting the installation torque, pay attention to whether there is yield phenomenon in the dynamic curve of the tightening process; f) Pay attention to whether the connection gap is eliminated on the installation dynamic curve.
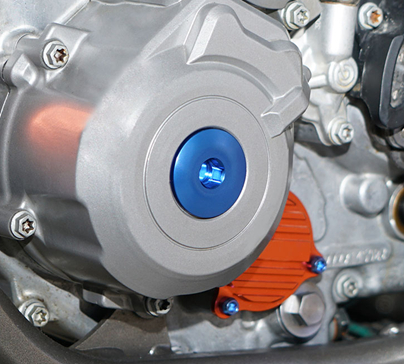
3) There are a few types of plate connection on the plate connection chassis, but the following design points should be paid attention to a) The matching dimension of the plate thickness t and the shoulder distance a of the bolt must meet the requirements of the clamping thickness; b) Sufficient support is required face, to ensure that the fastener is in complete contact with the connected parts
 |  |  |
Contact Us
Tel.:
+86 020 8621 0320
+86 020 3121 6067
Technical Support:
Navigation
SEND INQUIREY